- Blog Cleaning Uncategorized
- August 1, 2022
- Freezer Defrosting Tips
Freezer Defrosting Tips
Freezer Defrosting Tips:Freezer defrosting and cleaning may be one of the tasks you have been postponing for as long as possible. Nevertheless, it has to be done at some point. Some experts recommend choosing a cold day for the chore, so that your food will stay protected for longer, but we say there are other ways to protect it. Defrosting your freezer during summer, on a hot day in particular, can speed up the process quite a lot. And it could be a relief from the heat for you! Make sure to follow these steps.
1. Store the food appropriately
When you take out the food from the freezer, regardless of the room temperature, wrap the items in layers of paper and stack them together. If you have an ice bag - even better. You won’t need to worry anything will get spoiled.
2. Set towels at the bottom of the freezer
When you are defrosting you can expect water to run down from the freezer onto the floor. So, get well prepared and place a few old towels around the freezer. Don’t miss this step, because dripping water or ice melted into a puddle can damage the floor, especially if it is wooden.
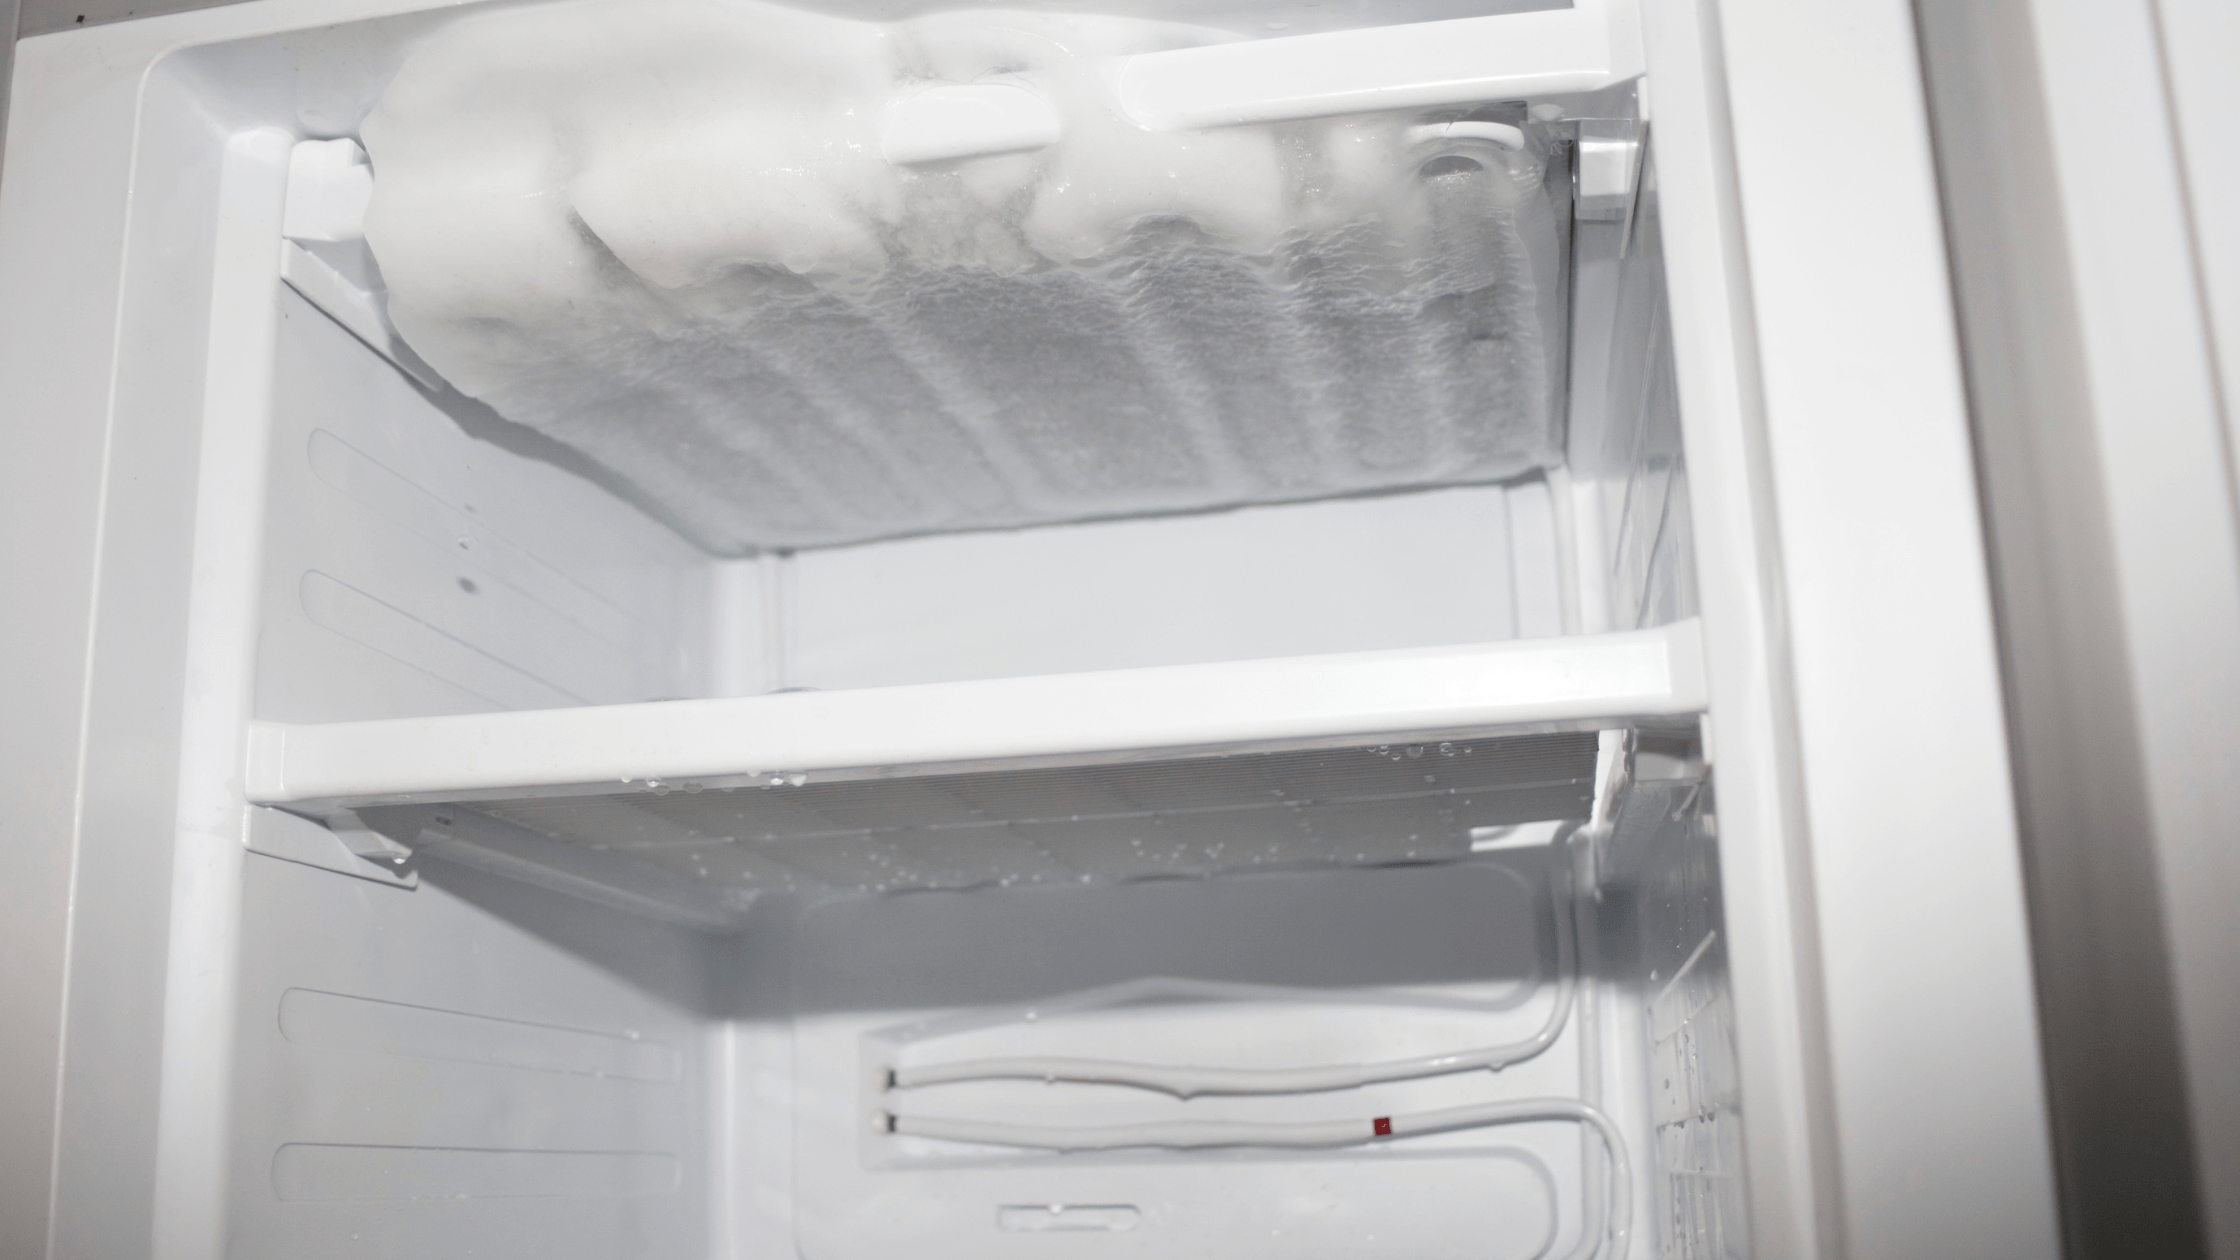
3. Wait for the thick ice to melt
If you have invested in a no-frost freezer, you are saving yourself some time and effort. Alternatively, before you start cleaning you will have to wait for the thick ice to melt. Unplug the appliance and open the door. Once the ice gets softer you can use a spatula to remove the bigger chunks. That requires some muscle but also precision and care to avoid damage or injury.
4. Speed up the process by using a fan or a hair dryer
Here’s a trick you will thank us for. To speed up the defrosting process you can use a fan or a hair dryer. Traditionally people have used hot items to melt the ice, but this could compromise the efficiency of your freezer. If you decide to try the hair dryer option, we recommend putting it on a cold air blow. For effective defrosting the air circulation is important, so even if you are not blowing hot air, it will still work and your freezer will be protected.
5. Clean the freezer
Those with self-defrosting or no-frost freezers have jumped straight to this step. Now it’s time to do some actual cleaning. Lukewarm soapy water with a sponge will do just fine. You can use a stronger cleaner if there are stubborn stains, but that happens quite rarely. Finish off with a disinfectant to wipe out any super resistant bacteria.
6. Choose the right freezing settings
Now that you are done with the hard bit, it’s time to get your freezer back to work. Choose the right setting. Some freezers have a fast-freeze option, which is always welcome. Others have to be set manually. Remember, for your food to last long when frozen, it needs to be kept at at least -18ºC.
7. Organise your products
Defrosting the freezer is also a great opportunity to organise all your food items. Label where possible and make sure you don’t overcrowd the freezer. Air circulation is essential for the maintenance of a steady temperature too.